How leaks are pinpointed
Thermal Imaging & Acoustic Leak Detection
No single tool finds every hidden leak. Contractors combine acoustic listening, thermal imaging, moisture readings and pressure tests, choosing the mix that suits the pipe, the surface and the symptom.
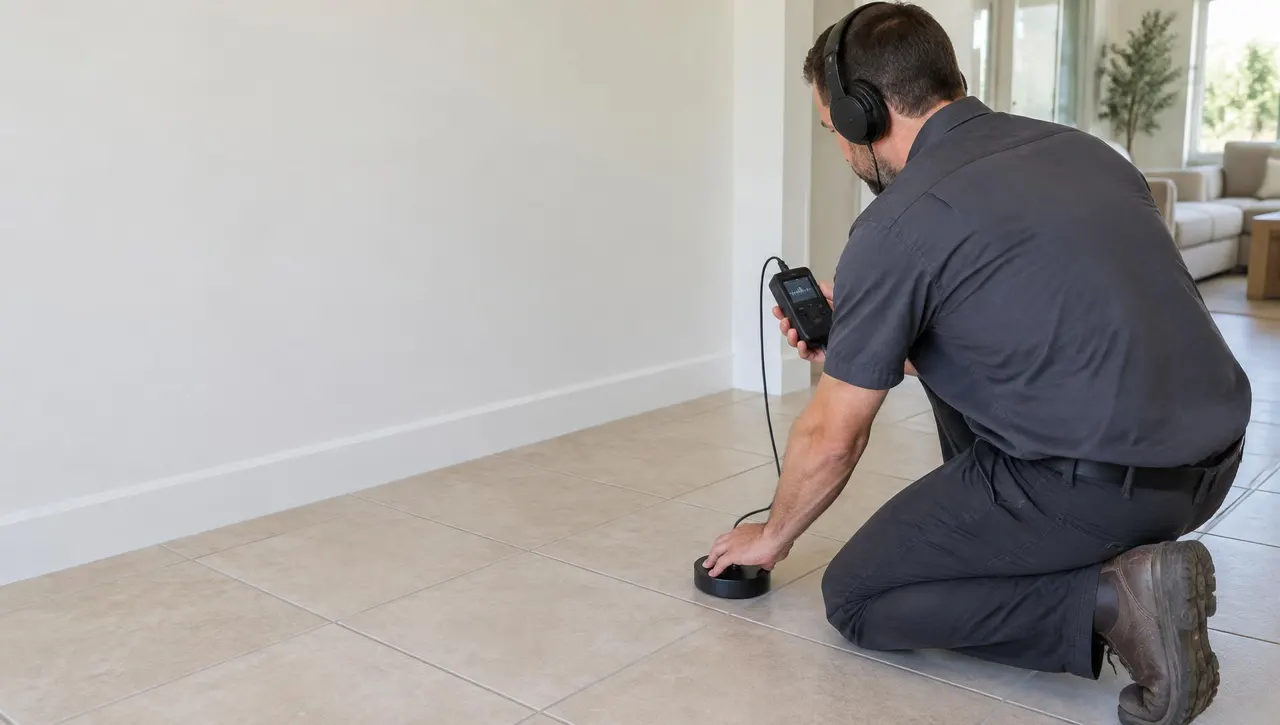
This page explains how a method is chosen and what its readings can and can't tell you. For the practical side of a specific location, see slab leaks, walls and ceilings or buried supply lines.
The four main methods compared
Acoustic listening
Pressurized water escaping a pipe makes sound. Ground microphones and contact sensors pick it up through floors, walls and soil.
Good for: Best on metal and pressurized lines in quiet conditions.
Limits: Traffic, appliances, deep burial and some plastic pipe reduce what can be heard.
Thermal imaging
An infrared camera maps surface temperature. A warm streak can follow a leaking hot-water line; a cool patch can mark evaporating moisture.
Good for: Fast, non-contact survey of floors, walls and ceilings.
Limits: Sees surfaces only — not through walls — and sun, ducts and insulation create look-alike patterns.
Moisture meters
Pin and pinless meters confirm whether drywall, wood or flooring is actually damp, and how far the dampness spreads.
Good for: Confirming and mapping a suspected wet area.
Limits: Shows where water is, not where it came from.
Pressure & meter tests
Isolating sections and watching pressure or the meter shows whether a line is losing water.
Good for: Confirming a loss and narrowing it to a section.
Limits: Says whether, not exactly where.
Surface reading vs. actual source
A thermal image or a damp reading tells you about the surface. Water can travel along a pipe, a stud or a slab joint before it shows, so the wettest spot is not always above the leak. That is why a finding should combine methods — for example, a pressure test confirming the hot line is losing water, a thermal pattern following its route, and an acoustic peak at one point along it — and state how confident it is.
How a method is selected
- Confirm the loss. A meter or pressure check shows whether a supply line is leaking at all, and on which side (hot or cold).
- Estimate the route. Where the line likely runs determines where to scan and listen.
- Survey the surface. Thermal imaging and moisture readings flag candidate areas quickly.
- Pinpoint. Acoustic listening — and, under concrete, sometimes a tracer gas introduced into the water line — narrows the location.
- Plan access. Only once the location and confidence are clear do you discuss the smallest sensible opening, or a reroute.
What “non-invasive” means — and doesn't
These methods let a contractor locate most leaks without opening walls or floors to search. They avoid unnecessary demolition; they do not guarantee that nothing will be opened. Reaching the pipe to repair it, or a small test opening to confirm a finding, may still be needed. Repair and surface restoration are quoted separately — see repair after detection.
Same-day pinpointing
The contractors answering this line offer same-day acoustic and thermal pinpointing. Timing on a given day depends on your location and the job; ask when you call. Gas leaks follow a different, safety-first process described on the gas leak detection page.